When it comes to smartphone photography, the iPhone is a shining example of innovation, providing consumers with strong tools to enhance their visual narrative. One of these features is the ability to blur images, which enhances your shots with depth, attention, and originality.
Understanding Depth and Blur
It’s important to understand what depth in photography is before delving into the specifics of blurring images with your iPhone. The perception of depth in an image is the sum of its layers and distance. By separating the topic from the background, blurring specific areas of a picture aids in emphasizing it.
Utilizing Portrait Mode
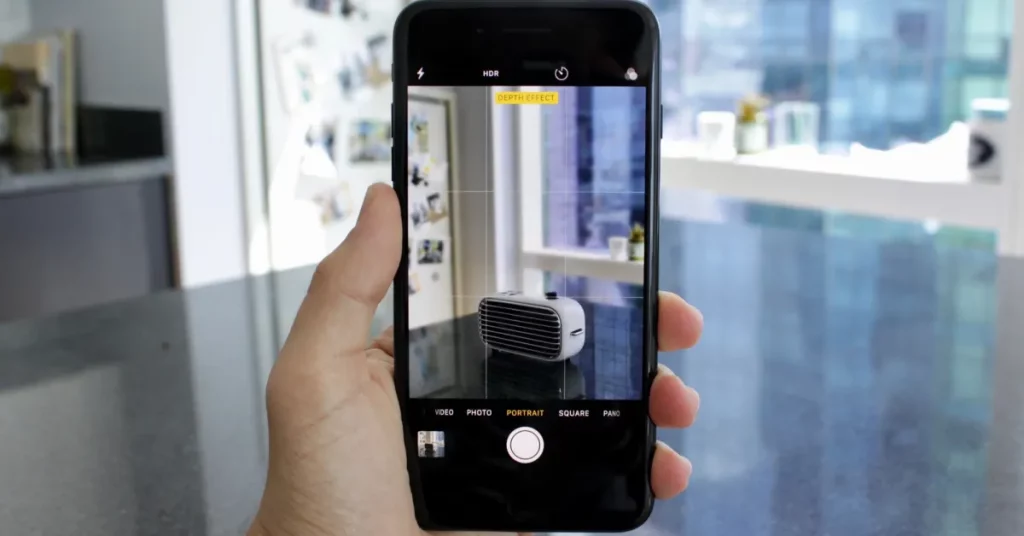
Portrait Mode on the iPhone is one of the most notable features that allows for photo blurring. This dedicated mode cleverly separates the subject from the backdrop using computational photography or the dual-camera system (available on certain iPhone models). By using a sequence of algorithms, Portrait Mode identifies the subject and gives the backdrop a bokeh—a blur that looks natural.
How to Blur Images in Portrait Mode

To access Portrait Mode on your iPhone, open the Camera app and swipe to choose “Portrait” mode.
Positioning the Subject: To achieve the best blur effect, make sure your subject is within the frame and keeps the proper distance from the camera.
Focus and Capture: Press to bring the topic into focus. Take a picture when the yellow “Depth Effect” box shows up. After taking the picture in the Photos app, you may be able to change the blur strength for some models.
Using Editing Tools to Adjust
Editing tools are useful for people who want more exact control over blurring or for people who are using older models of the iPhone. You may deliberately blur particular parts of your photos using apps like Adobe Photoshop Express, Snapseed, or even the built-in Photos app.
Using Photo Blurring Editing Apps
Selective Blur: Bring up the photo in your preferred editing program. Seek for a tool bearing the names “Lens Blur,” “Selective Blur,” or something comparable.
Adjustment Controls: To selectively add blur, use brushes or sliders. To guarantee a realistic appearance, these options frequently let you alter the blurriness of size, transition, and intensity.
After applying the necessary blur, adjust the effect and either save or export the picture.
Tips for Using Blurring Effectively
Try Different Distances: Adjust the distance between the subject and the background to see how the blur effect changes.
Employ Lighting: Blurring is most effective when there is a strong contrast between the subject and the background, which is frequently highlighted by appropriate lighting.
Practice Composition: Gain a better understanding of compositional principles to make your blurry photos stand out. To produce visually striking images, experiment with angles and framing.
In conclusion
Getting the hang of blurring pictures on your iPhone opens up a whole new creative space. This approach gives your photographs more depth and emphasis, improving the storytelling element of your photography. You may use the built-in Portrait Mode or use editing programs for fine tweaks.
Through experimentation and practice, you’ll be able to use your iPhone lens to express your creativity in fresh and intriguing ways in addition to blurring photographs.
Related Articles:
https://landscapeinsight.com/technology/why-is-my-iphone-alarm-so-quiet/73787/
https://landscapeinsight.com/technology/iphone-camera-black/73466/
Jessica is engaged in brand exposure at LandscapeInsight. She brings forth content that helps both the reader and brands based on research and trends. You can reach Jessica at –[email protected] or on Our website Contact Us Page.


